A B Kirby & Sons are experts on all types of repointing such as flush or tuckpointing on old and listed buildings or, additionally ironed in and weatherstruck on more modern buildings (1930s onward).
The use of combinations of different sands and aggregate can be used to give a wide choice of colour and finish to the repointing.
Joint colour and style is determined on site before repointing work commences. This way the customer can be assured they will receive a finished job that meets their expectations.
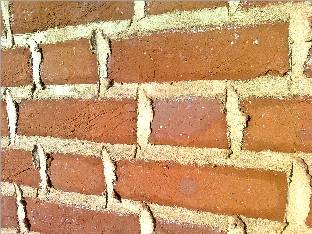
The repointing process (Flush pointing)
The re-pointing process has three main stages: raking out, pointing and brushing off. The first involves cleaning out old mortar, plant life etc. between the bricks to be re-pointed. This can be quite laborious, in particular if sand and cement mortar has been used in the past. The spaces created between the bricks are at least as deep as they are wide, and left with a square, clean edge so the new mortar has a key and doesn’t fall out.
A lot of our work involves the replacement of cement mortar with a lime mortar. The use of the correct tools and working with care is vital to prevent damage to the fabric of the building during this raking out process. To rake out hard mortar, 5” grinders fitted with 6mm diamond mortar raking blades are used Dust extractors are also used to minimise airbourne dust.
Spalled or cracked bricks should be replaced at this stage. For this, an Arbortech mortar saw is used, enabling bricks to be removed whole and frequently reversed with no damage to the surrounding bricks.

The area to be pointed is then thoroughly brushed to remove any dust and dampened down prior to the next stage.
The second stage consists of applying the mortar between the bricks until it is slightly proud of the brickwork. This is done in the traditional method using a hawk or tray and various trowels. Care is taken to prevent the lime from smearing and staining the masonry surfaces. The mortar is used as dry as is practical to point with as this allows maximum compaction in the joint it also reduces shrinkage cracking and the tendency to smear.
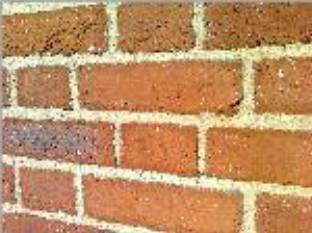
For the third stage, the mortar is then left to cure until leather hard, whereby it is brushed off with a soft wire brush to the required depth and finish, followed by a final brushing with a soft broom head to expose the aggregate.